After receiving the host renewal notification from my current host, i decided to transfer my personal blog with 447 blogpost from web.com.ph to my hostgator account. And here’s what I did;
1. Login to your current wordpress blog and upgrade your wordpress to latest version. You don’t have to do this if your current wordpress version is the latest release.
2. Add your domain to your new host. If your new host supports multiple domains, just go to cPanel and use Add On Domain to add your domain to your new host .
3. Using cPanel Fantastico or any other application that is available in your cPanel that can install wordpress, do a fresh wordpress installation. Use the same admin panel login and password as your current installation.
4. Since your current wordpress blog is running, and we don’t want our readers to see a Under Construction Page, let’s use the Temporary WordPress Installation URL to configure your wordpress blog in your new host. Temporary WordPress Installation URL is something like this : http://YourHostServerIPAddress/~AccountName/mydomain.com/ (don’t forget the “~” before the accountname) . Ask your host to get your IP Address and AccountName if you don’t know how to check it.
How to set your new wordpress blog to use the Temporary WordPress Installation URL;
- Check your new host wp-config.php file in the appropriate directory to get the database name.
- In cPanel phpMyAdmin, click on the database name, then click on the wp_options table.
- From there, click on Browse, and look for the ‘siteurl’ and ‘home’ variables .
- Change those to the Temporary WordPress Installation Url.
5. Using the Temporary WordPress Installation URL, visit your blog. There should be no post with the default theme.
6. Login to your new wordpress blog, and upgrade the wordpress to the latest version.
7. Using your favorite FTP Program, backup your current wp-content and wp-admin directory on to your disk. You also have to backup wp-config.php, .htaccess files and other folders that you created.
8. Backup your current wordpress database. Using cPanel myPhpAdmin, export your database to your pc. Before you export, make sure you to select all tables and check the DROP TABLE/VIEW/PROCEDURE/FUNCTION option.
9. Using FTP program, connect to your new host. Overwrite wp-content and wp-admin directory with the backup that you created from step 7. Also, make sure that the .htacces files are uploaded to your new blog directory.
10. Import your WordPress Database to your new host. Open cPanel myPhpAdmin, select your wordpress database and click the Import Option, select the database backup file from step 8. This will import your entire data to your new wordpress table.
11. With the database import, your new wordpress blog may be pointing to its domain( mydomain.com ), change it again to Temporary WordPress Installation URL just like what you did in step 4.
12. Visit your new wordpress blog using the Temporary WordPress Installation URL. Check your post, widgets, etc..
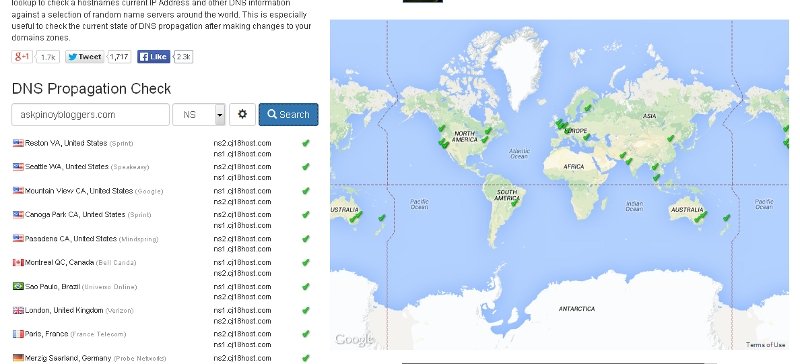
13. Login to your domain registrar and change the Name Server Values to make it point to the nameservers provided by your new host.
14. Login to your new wordpress blog and change the blog address (URL) and WordPress address (URL) values to make them point to http://myDomain.com/
That’s it! Enjoy!

